
Coding With ChatGPT - Week 1: The Basics
Welcome to week one of the new “coding with ChatGPT” guide i'll be running. I’m doing this on the fly so hopefully it all works out! This is starting from the very beginning, so if you already know how to code, this guide is probably not for you.
To get the most out of this, I would read the ChatGPT conversation, look at how I'm asking it questions, how I’m communicating with ChatGPT, and then use the blog in combination with the conversation to see if you can replicate the output. Once you’ve done that, open up a conversation yourself and have a play around, as now you will have your coding environment setup and you’re ready to go.
Here is the link to my conversation with ChatGPT so you can see how I'm speaking with it. There’s no special prompt, at this stage I’m simply speaking to it as if it were a person who is teaching me and if I don’t understand something it said I’m asking it: View Conversation
Step 1: Install a Code Editor
I begin by explaining what I want to do and it reels off an almost bullet point-like list. The first of which is to get and then setup a coding editor. One of the coding editors it suggests is Visual Studio Code (VS Code) which is a free and popular code editor used by many web developers. It even provided a link (https://code.visualstudio.com/). Download the version that’s correct for your operating system (windows, mac etc) and follow the installation wizard to install VS Code on your computer.
Step 2: Install Useful Extensions
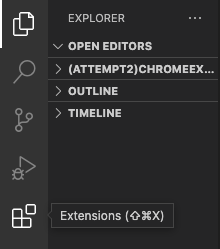
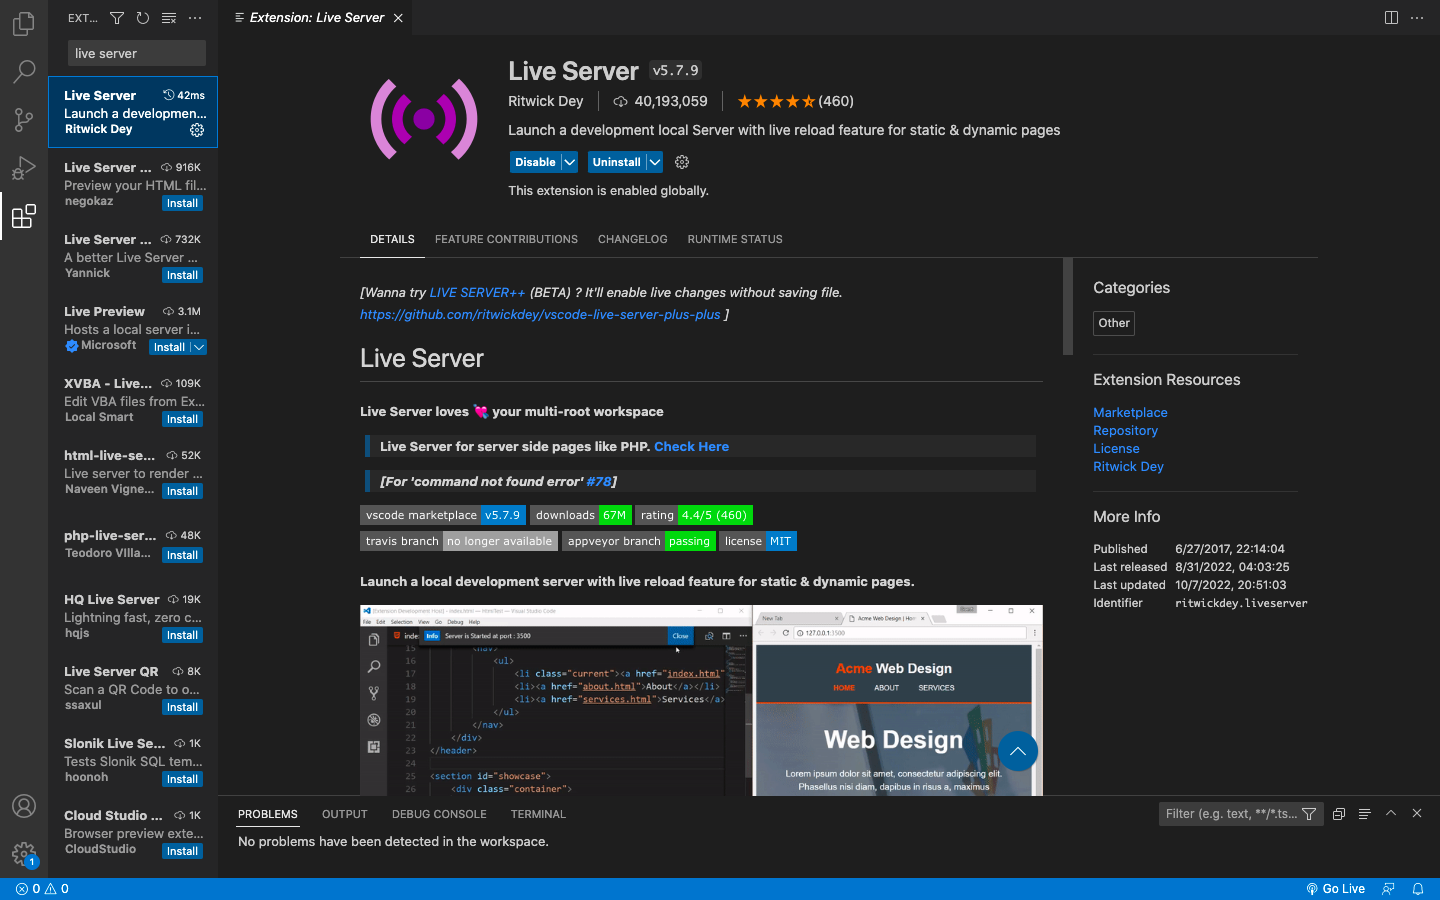
Next it suggests adding some useful extensions. VS Code allows you to add useful extensions to enhance your coding experience, for web development, two great extensions to install are "HTML CSS Support" and "Live Server". Search for these in the Extensions Marketplace (Ctrl+Shift+X) and click Install.
Search Live server, for example, in the extensions search bar:
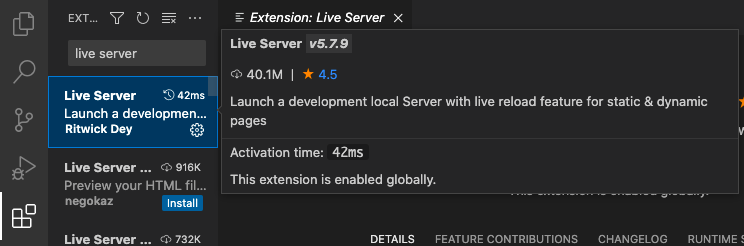
Click on it and press the blue install button (mine says uninstall as I have already installed it).
Repeat the process for HTML CSS Support.
If you read the conversation with ChatGPT, it does an absolute cracking job in explaining what each of these extensions are useful for and in my experience, are a must!
In summary, Live Server allows you to see your HTML as it would look on a website and automatically refreshes it as you make changes to the HTML/CSS code in VS Code, and HTML and CSS extension provides support with auto code completion, highlighting, and making suggestions; again, it’s a must.
Step 3: Create a Project Folder
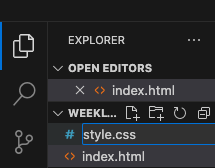
Once you have your extensions, you’re almost ready to begin coding. Now we need to create a project folder, so all you have to do is create a new folder on your computer somewhere, whether it’s on the desktop or a subfolder. I called my folder “Weekly Coding Series” and this is where all your website files will be saved.
Step 4: Open the Project in VS Code
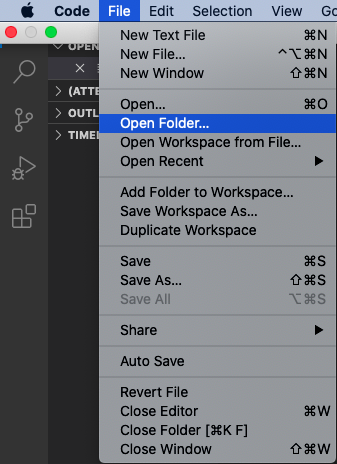
In VS Code, go to File > Open Folder and open the folder you just created. This will open your coding project in the editor.
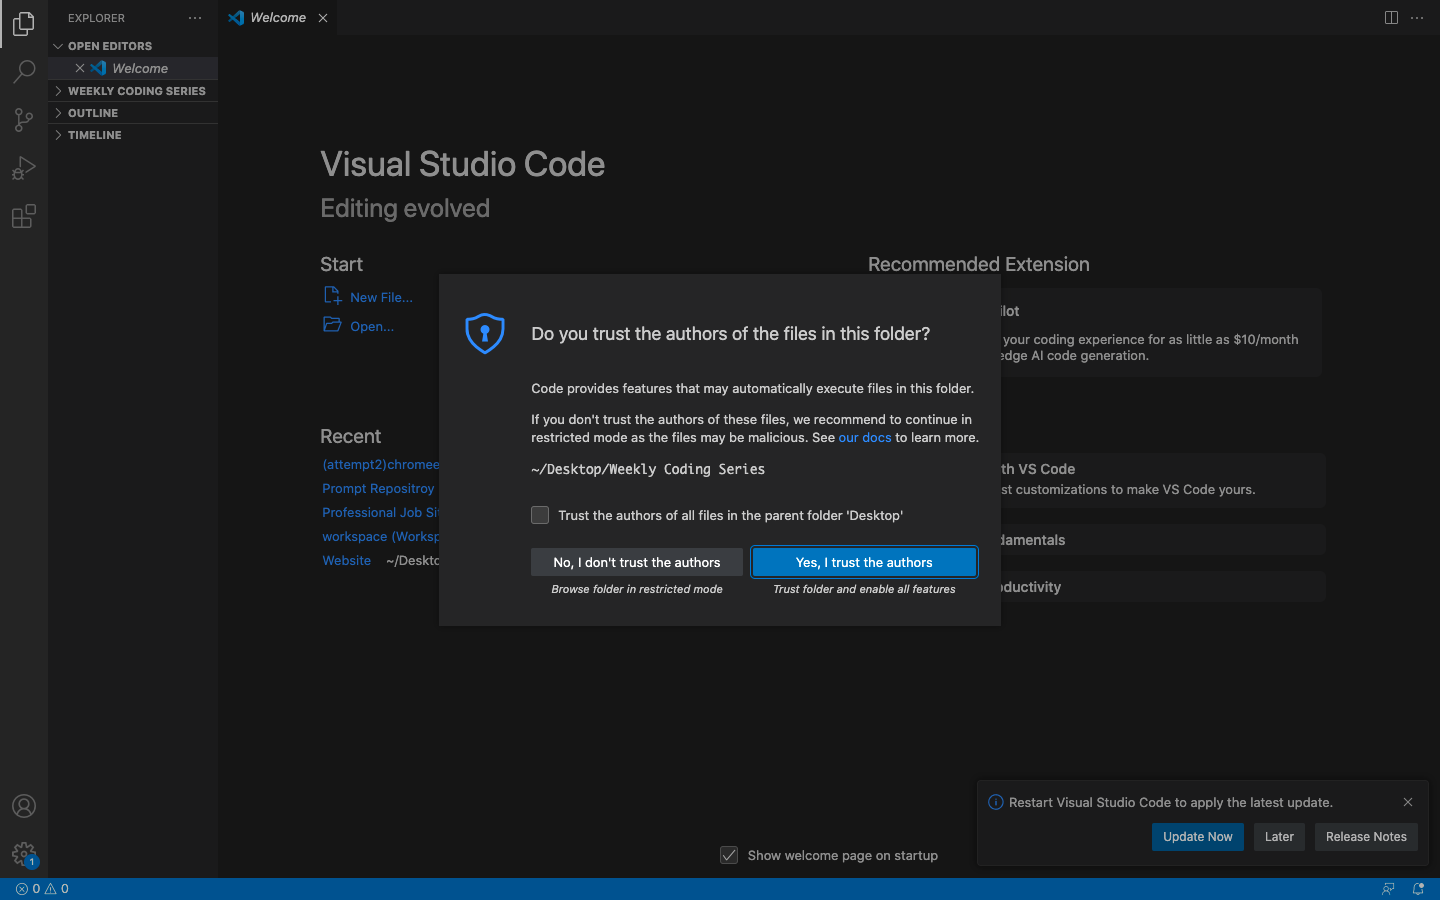
If a warning comes up asking if you trust the authors of the files in the folder, click yes.
Step 5: Create an HTML File
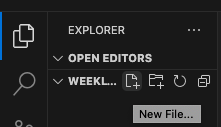
We are almost there. Your folder should now be listed on the left-hand side. Right-click the folder in VS Code and select New File. Name it index.html. This will be the main HTML file for your page.
Step 6: Add HTML Code
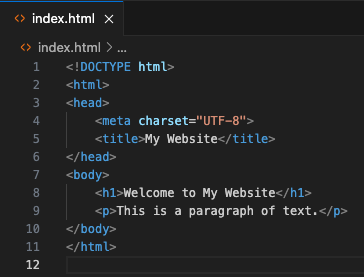
Click on the new index.html file and copy and paste the code ChatGPT has suggested:
<!DOCTYPE html> <html> <head> <meta charset="UTF-8"> <title>My Website</title> </head> <body> <h1>Welcome to My Website</h1> <p>This is a paragraph of text.</p> </body> </html>
It should look like this:
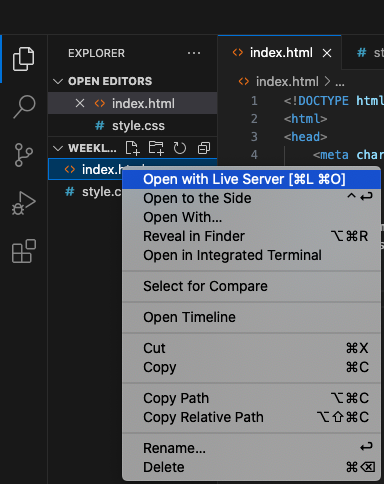
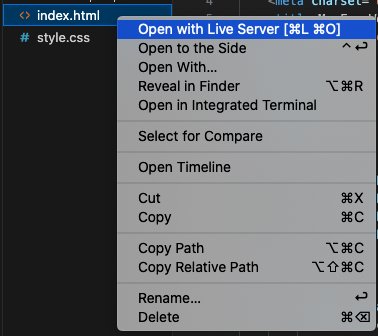
Let’s have a quick look at what this code looks like, right-click on the index.html file and if you installed the Live Server extension properly, click the Live Server from the drop-down.
It will then open up a new tab in your browser and there you have it, you’ve officially coded your very first (insanely primitive) website with ChatGPT.

At the moment, what you’re looking at is a website without any styling, this is what raw HTML looks like. In the next piece of HTML code that ChatGPT gives us, it will automatically link in a style sheet to add styling. Look out for the following: <link rel="stylesheet" href="styles.css">
Step 7: Create a CSS File
Ok, next let’s create a new file just the same way you did when you created the index.html, but this time we are going to create a .css file which is where you can style the website, call it style.css. VS Code will automatically detect it’s a CSS type file for you just as it did with the .html file you created earlier.
Leave the CSS file blank for now, we will come back and add some CSS that ChatGPT provides shortly.
Step 8: Spice it Up
Ok so we have everything set up, we have our 2 files (.html & .css) with some very basic HTML code in it and we also have the ability to see what it looks like as a webpage thanks to the Live Server extension.
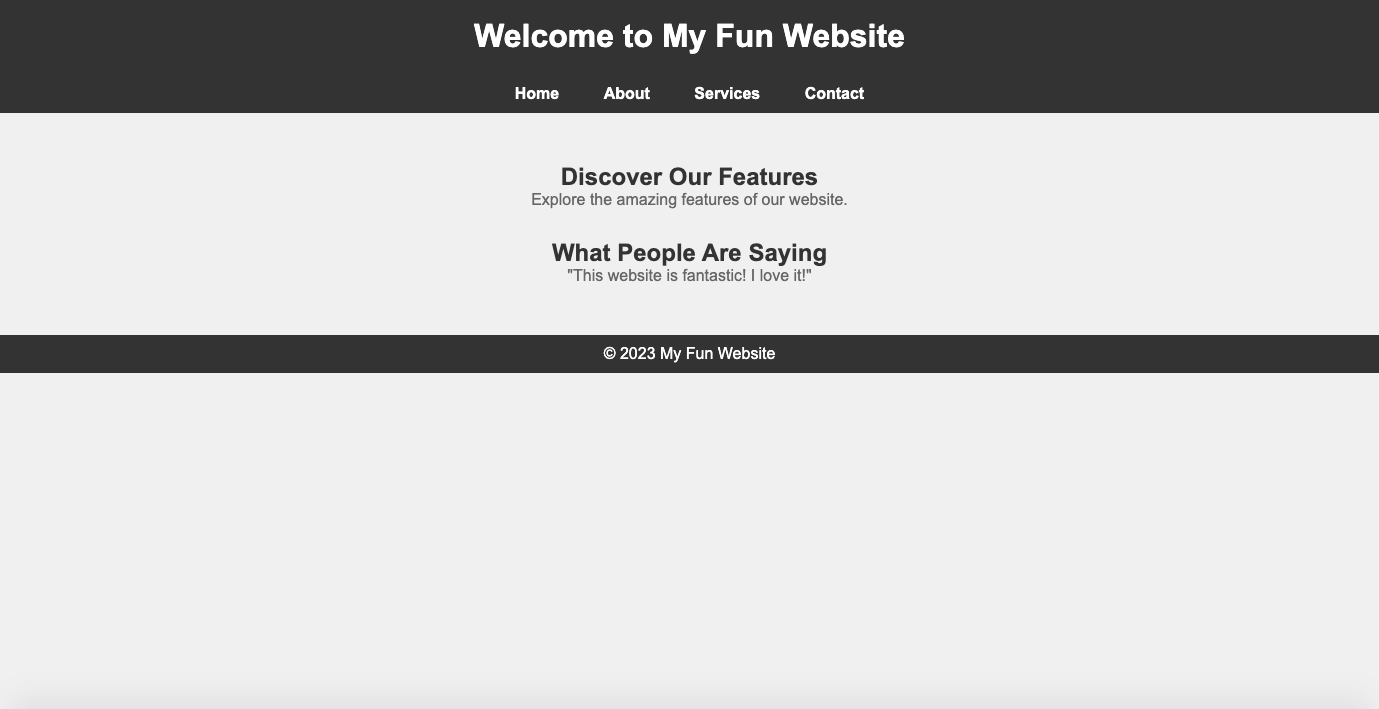
I want to show you how easy it is to improve it in one go. All I did, is send all of the HTML (press ctrl and A) from the index.html file, pasted (ctrl V) into ChatGPT and said “show me an example of how we can make it look really cool and fun?”. ChatGPT complies with an improved version of the HTML:
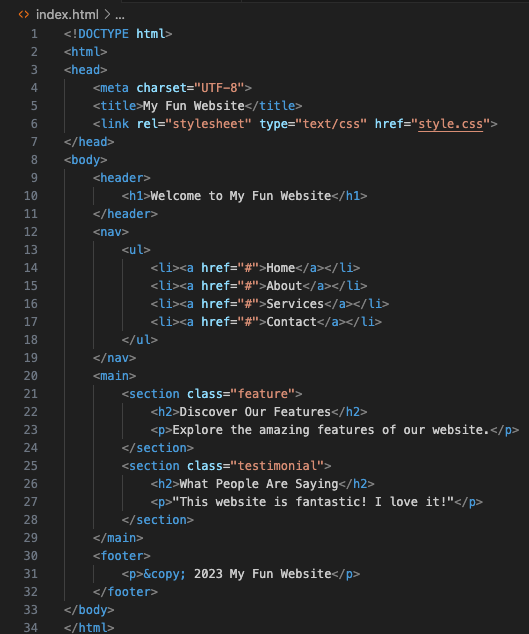
and importantly this time the CSS code to go with it:
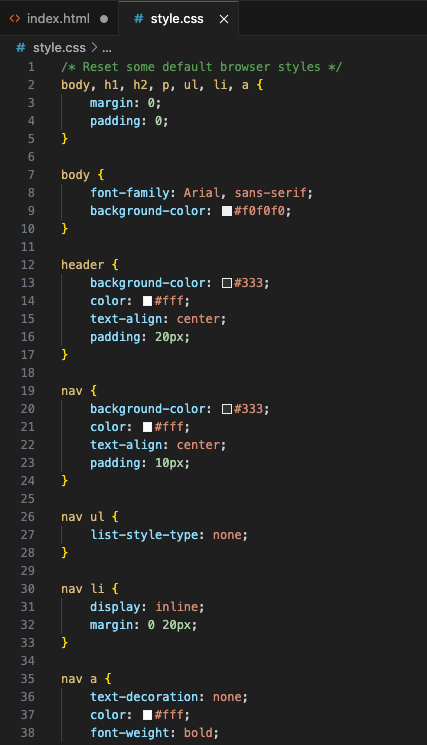
Copy and paste the HTML it gives you, replacing your existing HTML code in VS Code and copy and paste the CSS code into your currently empty .css file. Save both files (for Mac, it’s Cmd & S) do that for the .html file and the .css file and then go back to your browser and refresh the page that had the basic HTML in it (if you already closed this window, just right-click on the .html file and click on the show in live server option again.
And there you have it, this is what you should see, if you’re a non-coder, that should be pretty satisfying.
Next week we will look to complete the first page, start making changes to the styling, the colours, adding buttons and changing text, overall, slightly turning up the complexity level and maybe see if we can get ourselves a situation where there’s an issue so I can show you how I iterate to overcome it. I hope you enjoyed week 1, feedback would be greatly appreciated on this new series, if it’s well received I’ll continue.